Configure Printers
By default, IntelleCheck allows users to print to their local printers, as well as to any MAPS printers they have access to that are authorized for use with IntelleCheck.
IntelleCheck supports laser printers that are compatible with PCL 5. PCL 6 drivers may or may not also include support for PCL 5. If you are using the HP Universal Print Driver, please ensure that you download the PCL 5 version (6.1) for use with IntelleCheck.
Note: PCL format is only supported for on-prem Oracle environments. Printers being used in a cloud-based IntelleCheck environments support PDF format.
Adding Printers to MAPS
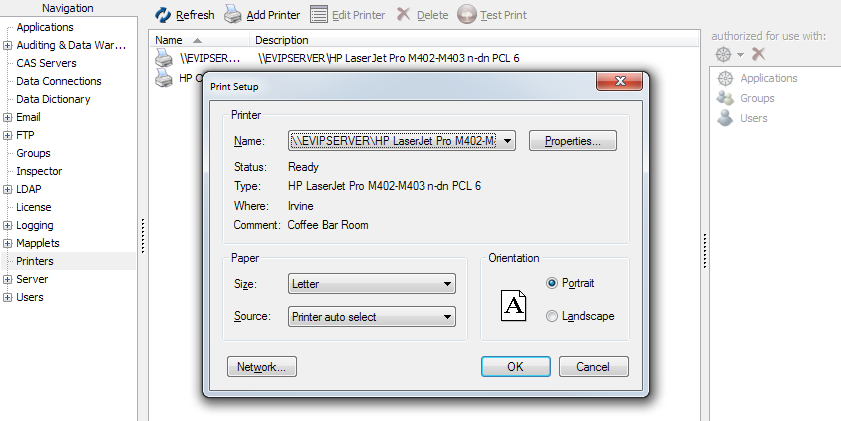
To add a printer to MAPS, go to Printers in the Navigation pane, then select Add Printer. The Print Setup dialog will show you a list of all printers installed on the machine. Select the appropriate printer from the dropdown, then click OK.
Notes:
- You must add printers from the MAPS server itself, or from a Remote Desktop connection to the server.
- You should log in to the server where MAPS is installed as the user the MAPS service is running as, and this user must have permissions to use the printers you wish to add.
- The printer driver must be installed on your server or installed as a network printer and accessible to MAPS for it to appear in the Print Setup dialog.
- MAPS requires a printer to be added to the server if one doesn’t already exist. It can be a dummy printer if no physical printers are connected to the server. In either case at least one printer must be added to the server.
The printers that appear in the dialog are those that are available to the local system. In order for your printers to work correctly, you MUST add printers from the machine where MAPS is installed, or via a Remote Desktop session to this machine.
You can now authorize the printer for use by individual applications, users, and groups. Right-click in the Authorized for use with pane on the right (or use the dropdown menu) and choose Add Application, Add Group, or Add User. These options open a list of available users, groups, or applications that can be authorized for use with the selected printer.
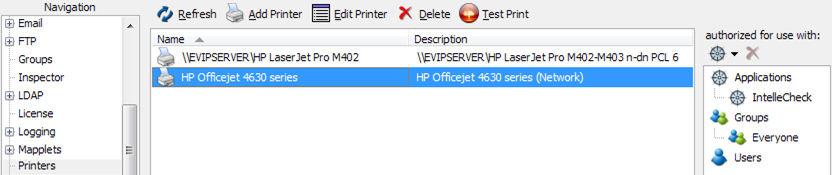
In this example, use of the HP Officejet 4630 printer is limited to the IntelleCheck application, and is available to all users (the “Everyone” group) who use IntelleCheck. To restrict access to specific users or groups, authorize those users or groups individually instead of using the “Everyone” group.
To verify that the printer was added to MAPS successfully, select the printer and then click the Test Print button at the top of the screen to send a test page to the printer.
If you run into any problems adding your printers, refer to the Troubleshooting section of the MAPS Help.
Printer Configuration by Account Code
The Administration -> Account area of IntelleCheck allows you to specify per account code whether users are allowed to print payments to their local printers or to specific MAPS printers. This gives you fine-grain control over which payments can be printed to which printers.
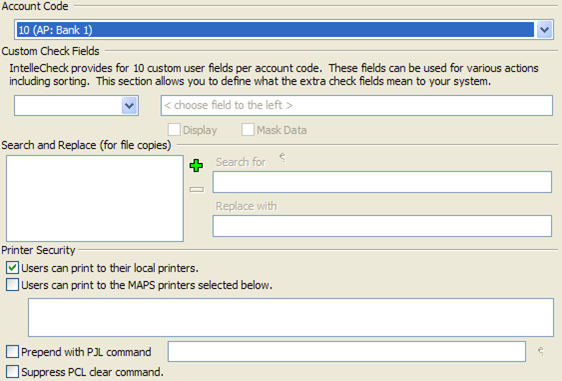
For maximum security, you may wish to only allow users to print checks to specific designated printers that are in a secure physical location.